
Thursday, January 12, 2017
A new bread box!!
My birthday was yesterday. One of our sons and his wife sent me a new bread box? It is ceramic and I love it. It's sitting there in the middle on top of the hutch. :)

Friday, January 6, 2017
Bread boxes - - - I never knew this!
.... I can't remember now how it came to be, but I started reading online about bread boxes. I always just assumed a bread box was a place to store your bread so the counter wouldn't look messy. Not so! I have discovered that the traditional Bread Box helps to keep bread fresh longer. How did I not know this? I guess my mom didn't use one and I simply never talked with anyone about it. I thought I would put it to the test. I don't have an official Bread Box (yet), so I cleaned up this old "tin" to use:

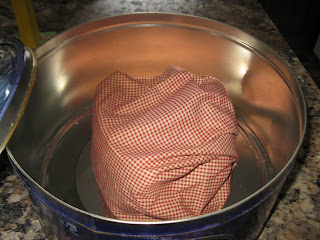


It's a nice big old cookie tin that I've had for a number of years and have used to store canning rings in. I thought, "Well, if this works, then I'll see if I can get a real Bread Box." The article I was reading suggests wrapping the loaf of bread in a cotton cloth, so that's what I did. I put my loaf of whole wheat sourdough bread in the tin, wrapped in a nice cotton cloth. Here is what is left today. I put it in there on Tuesday, so that was 3 days ago.

Let's unwrap it!

And here I cut off a nice slice.

The bread is still nice and moist and nearly as fresh as the day I made it. Now, I do understand that sourdough bread (true, long - fermented bread) has better keeping qualities than "normal" bread, but even so... this is much much better!
If you store your fresh breads in plastic bags, it simply doesn't work. I don't know why. It just doesn't. And if you pre-slice your bread, that's not a good idea either.
I can't tell you how pleased I am! The extra bread that I made is in a plastic bag in the freezer. When I need some, I will just get it out and let it thaw and then wrap it in the cloth and put it in the tin.
A small thing, again, but I am easily entertained. ;)
Tuesday, January 3, 2017
Something little - gluten-free "dumplings."
Are you on a gluten-free diet? I'm not, but my husband is currently doing the ketogenic diet in order to lose some weight, and I thought maybe I could make some dumplings for soup for him. These are nice! They are very tender, and I suggest you make them right before serving the soup, and cooking them in the soup.
Tender, gluten-free dumplings
1 egg
1/4 teaspoon salt
1/4 teaspoon baking powder
6 Tablespoons blanched almond flour
Crack the egg into a little bowl and whisk it up with a fork. Add the other ingredients and stir it thoroughly.

Bring your soup to a boil, and reduce it to a simmer. Dip a teaspoon in the hot broth, and then scoop out some of your batter and put it in the broth. Dip in the spoon in the broth between each scoop. Continue until all the dumplings are in the soup. Simmer for two minutes. That's it!


You might want to scoop the dumplings out in order to treat them gently, then replace them in the bowls of soup. These would also be very nice with some savory gravy, or with a homemade "cream" soup ladled over them.
Monday, January 2, 2017
Avocados were on sale!
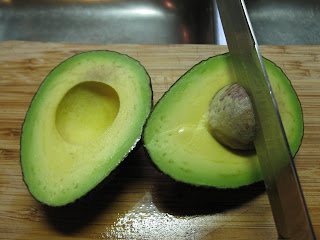
My local grocery store advertised Haas avocados for 88 Cents each! So, I bought 10 of them, put two in the refrigerator to eat soon, and have frozen the rest. I blogged about this process a number of years ago, but thought it might be good to mention it again.
This time, I had 8 avocados and mashed them thoroughly with my electric hand-held mixer, and then mixed in 1/2 cup lemon juice.
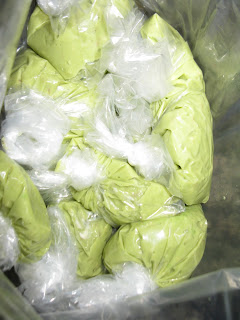
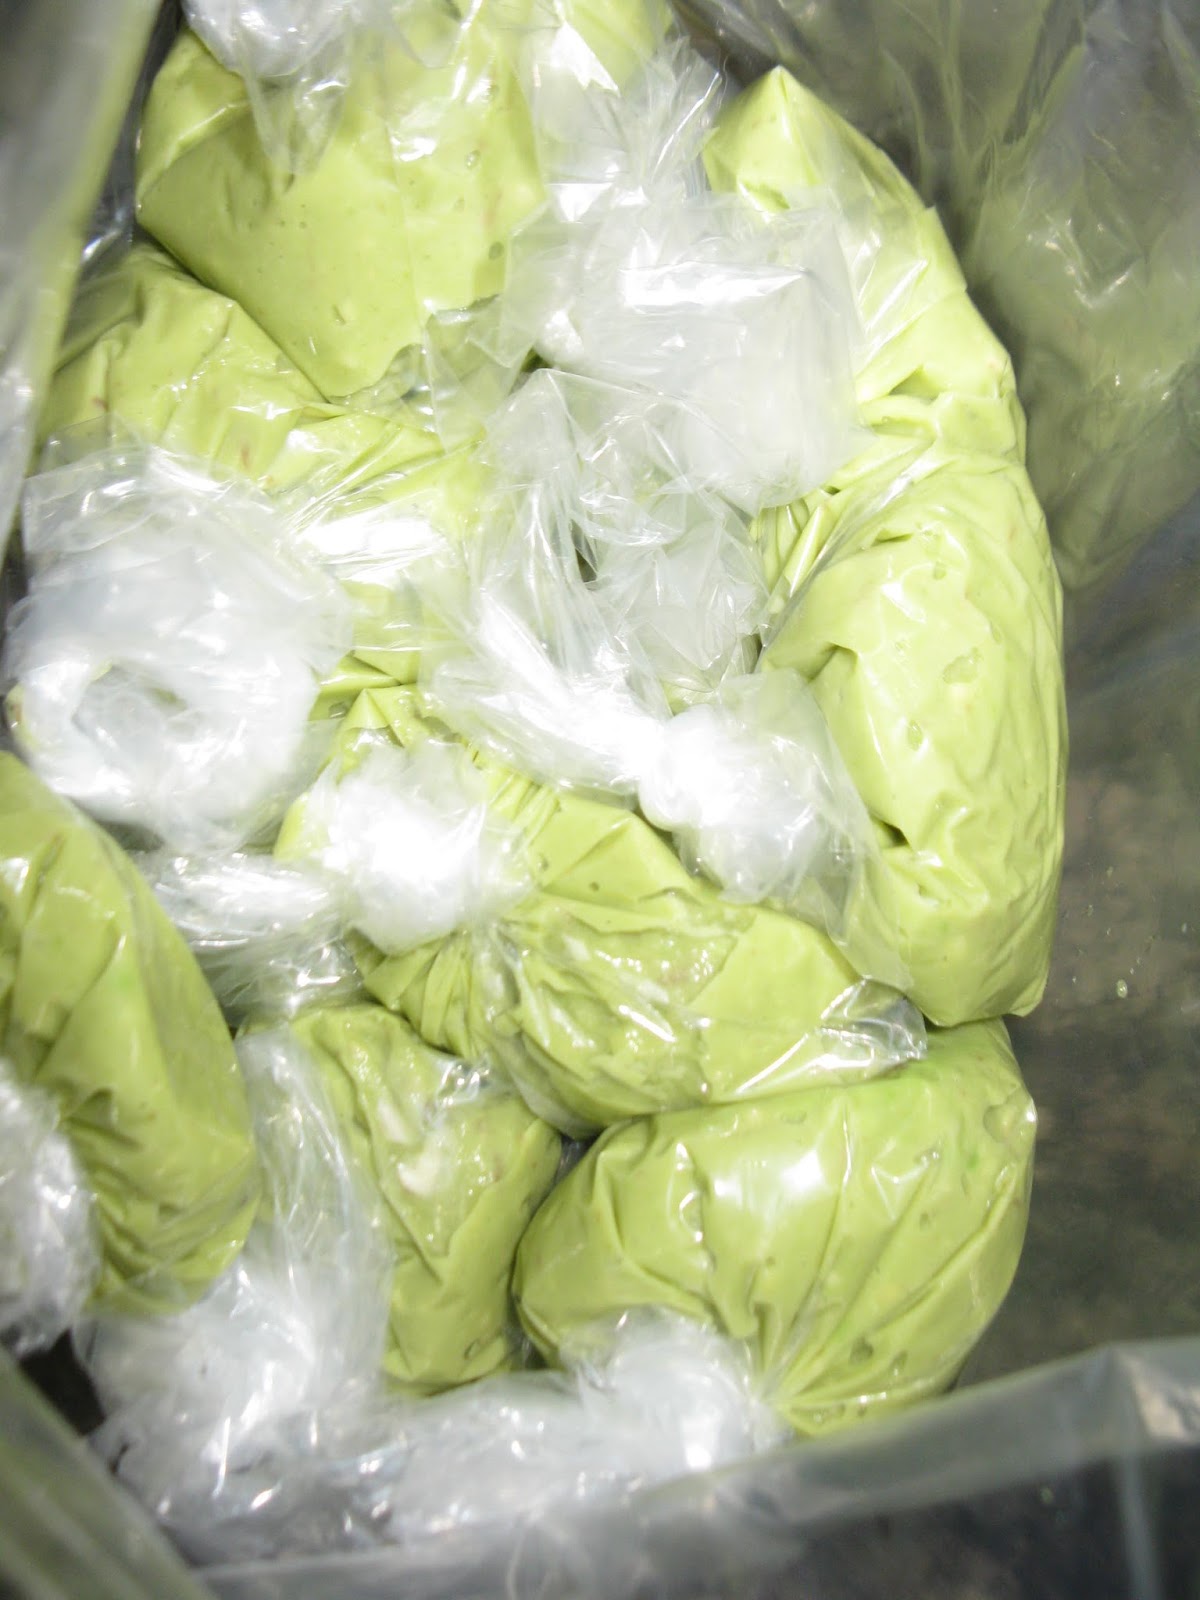
I divided the pulp into 1/4-cup batches in the fold-over sandwich bags, tied them all shut and put them into a larger food storage bag and then into the freezer.

This time, I had 8 avocados and mashed them thoroughly with my electric hand-held mixer, and then mixed in 1/2 cup lemon juice.
I divided the pulp into 1/4-cup batches in the fold-over sandwich bags, tied them all shut and put them into a larger food storage bag and then into the freezer.
How cute!

You might wonder, "Why 1/4-cup batches?" Well, I'll tell you... I like to make "Avocado Ranch Dressing" - a recipe I found on AllRecipes.com. Blogger won't let me link to it, but you can go there if you want to see it. Here is how I made mine:
AVOCADO RANCH DRESSING
1/4 cup ripe avocado
1/4 cup mayonnaise
1/4 cup sour cream
1 Tablespoon buttermilk (I used milk kefir, and you could also use plain yogurt, if you wish)
1.5 (one and a half) teaspoons distilled white vinegar
1/8 teaspoon salt
1/8 teaspoon dried parsely
1 pinch dried dill weed
1/8 teaspoon onion powder
1 pinch garlic powder
I put all of that in the small container of my food processor and blended it well. Alternately, you could mash the avocados up with a fork and then stir everything in, or use a hand-held electric mixer.
Refrigerate. It's really yummy!
Okay, I prefer not to use commercial mayonnaise, so I make my own, very quickly and easily, like this:
MAYONNAISE
In a medium-sized bowl combine:
3 egg yolks (if you are not worried about the safety of raw eggs)
1 teaspoon Dijon mustard
1.5 Tablespoons (one and one-half) raw apple cider vinegar
1 cup extra-virgin olive oil
sea salt, to taste (about 8 pinches)
I use an immersion blender to blend this all together and it takes only moments to do. I used to do it in a stand blender, drizzling in the olive oil very slowly and that works fine, but takes a lot more time.
According to Gnowfglins, if you add a Tablespoon of live whey to this and let it sit out on the counter for 7 hours before putting it in the fridge, it will keep much longer, but if you are going to use it within a week, I wouldn't worry about that.
Avocados really do freeze well. Just get some out the day before you need to use it and put it in the refrigerator to thaw out. You will be glad when the price of avocados go sky high!
Subscribe to:
Posts (Atom)
